Smart Home Winter Checklist: Freeze, Leak, and Air Quality Sensors
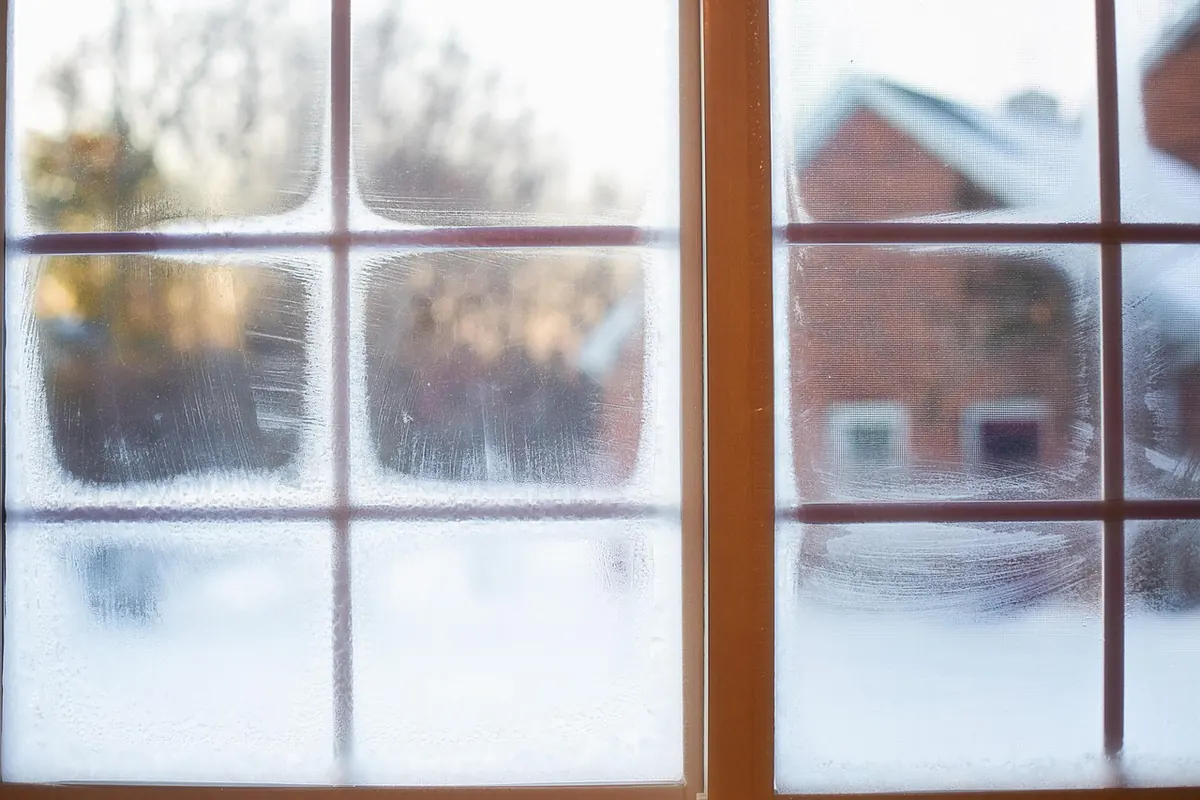
The first hard freeze rarely announces itself. You go to bed with an ordinary forecast and wake up to a dripping ceiling, a furnace that has been running since 3 a.m., or a pipe that split quietly behind a kitchen cabinet. Winter damage tends to happen in the parts of a house nobody visits: the crawlspace, the garage wall, the corner of the basement behind the holiday boxes.
Sensors close some of those gaps, but only if they are in the right spots and have been tested before the cold settles in. What follows is a practical pre-winter pass through the house: where freeze, leak, and air quality sensors earn their keep, how to test them properly, and which alerts are worth waking up for.
Start with water, not temperature
Cold is the trigger, but water is usually the bill. A pipe that freezes and stays frozen is an inconvenience. A pipe that freezes, thaws, and starts spraying into a finished basement is a different kind of winter. So put leak sensors down first, then worry about the rest.
Good places to cover:
- Under every sink, including the guest bathroom and the utility sink you never use.
- Behind or beside the washing machine, and on the floor near the water heater and its drain pan.
- The lowest corner of the basement, plus the floor near the sump pit.
- Under the dishwasher and behind the refrigerator if it has a water line.
- Near upstairs toilets. A slow supply-line leak often shows up as a ceiling stain two floors away from the source.
- Where the main line enters the house, and anywhere the pipe passes through an unheated wall.
Two sensor shapes do most of this work. Flat puck-style sensors sit on the floor and report when water bridges their contacts. Cable or rope sensors run along a floor, wrap around a pipe, or drop into a sump pit, which makes them better for long runs and awkward spaces. Many leak sensors also report temperature, which is convenient because one device covers two jobs.
Place leak sensors where water will actually collect, not where the pipe is easiest to reach.
That usually means on the hard floor in the path water would take toward a drain — not on a shelf, not on a towel, and not balanced on a joist. In a carpeted basement, water spreads under the pad, so a sensor along the wall may miss what a sensor in the middle of the room catches.
Temperature sensors and the pipes you forgot about
Your thermostat already knows how warm the living room is. It knows nothing about the crawlspace where the main supply line runs along an exterior wall, which is exactly where trouble starts.
Worth monitoring: the garage wall near laundry plumbing or a water heater, the crawlspace near the main line, an attic with pipes or a condensate drain, basement corners on exterior walls, the cabinet under a kitchen sink set into an exterior wall, and any unheated mudroom or porch with plumbing in it.
Set the low-temperature alert around 40°F (about 4°C) rather than 32°F. Water freezes at 32°F, but a pipe inside an exterior wall can sit several degrees colder than the room your thermostat reads, and you want warning before the margin disappears. When that alert fires, the useful responses are opening cabinet doors to let warm air circulate, letting a faucet drip, and adding insulation or heat tape rated for pipe use. Follow the manufacturer's instructions for any heat cable, and bring in a licensed plumber if you are unsure.
If your home has a smart water shutoff valve, link it to both the low-temperature alert and the leak sensors. Automatic shutoff does more for you at 2 a.m. than any notification.
Air quality when the windows stay closed
Winter changes indoor air in ways you cannot see. The house is sealed, combustion appliances run for months, and everyone spends more time inside. Sensors help you notice what you would otherwise only feel as headaches, dry eyes, or stale air.
Carbon monoxide and combustion
Carbon monoxide alarms are life-safety devices and should be treated separately from hobbyist air quality monitors. Install them according to the manufacturer's instructions and your local code — typically on every level and near sleeping areas — test them monthly, and replace them on the schedule the manufacturer gives. Never run a generator, charcoal grill, or propane heater indoors or in an attached garage, even briefly. A general indoor air monitor is not a substitute for a certified CO alarm.
Humidity, dust, and cooking
Humidity sensors belong in bathrooms, the basement, and near windows that sweat in cold weather. Most guidance points to roughly 30 to 50 percent relative humidity during heating season. Condensation running down window glass usually means the house is too humid; constant static shocks and cracking wood trim suggest it is too dry. A bathroom fan on a humidity trigger, or a dehumidifier on a smart plug, handles most of it.
Particulate and VOC sensors are most useful in the kitchen and near a wood stove or fireplace. They will show you what searing a steak or burning a scented candle does to the room, which is often more than expected. Change furnace filters on schedule, and ask an HVAC technician before switching to a much higher filter rating — some systems lose airflow and strain when the filter is too restrictive. If anyone in the house has asthma or another respiratory condition, treat readings as information rather than diagnosis and talk to a clinician about what matters for your household. Radon is a separate and more serious subject; test kits are inexpensive, and mitigation is a job for a qualified professional.
Test, batteries, and signal strength
- Trigger every sensor for real. Tapping "test" in an app only proves the app works. Touch a leak sensor's contacts with a wet paper towel. Put a freeze sensor somewhere genuinely cold for a few minutes. Watch for the notification to arrive.
- Replace batteries, especially in cold spots. Cold reduces battery output, and some sensors are not rated to operate below freezing at all. Check the rated temperature range before mounting anything in a garage or crawlspace.
- Check signal, not just battery. Look at each device's last-reported timestamp in the app. If a sensor in the basement or a metal utility room checks in late or not at all, add a plug-in repeater or move the hub.
- Confirm notifications reach the right people. Everyone who might need to act should get alerts on their own phone with sound permitted. Recheck this after any phone operating system update.
- Name devices clearly. "Basement — northwest corner, under the stairs" tells you what to do at 3 a.m. "Sensor 4" does not.
- Plan for a power outage. If the hub is not on a battery backup, an outage takes your monitoring offline, and that is exactly when a sump pump is most likely to fail.
Automations worth setting up
A handful of rules cover most winter scenarios. Temperature below 40°F in the crawlspace: notify and close the water main. Any leak sensor wet: shut off the main, sound the sirens, alert everyone. Basement humidity above 60 percent for half an hour: run the dehumidifier. Sump pit sensor triggered: notify immediately.
Be careful with two things. Do not put a critical sump pump on a smart plug as its only control — a cloud outage should not be able to flood your basement. And do not route smoke or carbon monoxide alarms through automations that depend on Wi-Fi. Those alarms need their own loud sounder, working independently, every time.
Your pre-winter weekend
Pick one afternoon, open the app, and walk the house. Trigger each leak sensor with a damp cloth. Confirm every temperature sensor is reporting. Swap batteries in anything older than a year. Check that the person who is home most often gets the alerts too.
Then do the low-tech half of the job: insulate exposed pipes, disconnect garden hoses and shut off exterior spigots, clear gutters before the first freeze, and have the furnace serviced. For anything involving gas appliances, electrical work, or the main water line, bring in a licensed professional — placing sensors is a weekend project, but repairs are not.
Photo: JillWellington / Pixabay